 Installing Polybench
Overview
Requirements
- The installation CD of Polybench Suite or a download version of the installer
- A valid license key (.plic file, see also "License activation wizard") that your distributor provides you
- A measurement instrument that is supported by this installation of Polybench Suite
- A modern computer with the Windows 10 operating system. Polybench will also still work on Windows XP (SP3) 32-bit, Windows 7 32-bit, Windows 7 64-bit, or Windows 8.x.
- Please note that this version of Polybench uses the .NET 3.5 platform. On Windows 10 this is not always available. In many setups it can be activated as a feature (search for features in the Windows search field).
Please note:
- This version of Polybench is not for clinical use
- Your license is activated during or after the installation. If your license is not activated, Polybench or any Polybench runtime will not run. A license is bound to one computer, unless your license allows for multiple activations. The license is valid for all users (accept the Guest account) on that computer.
- You cannot run Polybench from a network disk (as is the case for most other software).
- The larger your application, or the more data your application needs to process, the more resources are used from your computer. If your computer becomes sluggish during data processing, then either you process too much data per time, or your computer is too light-weight.
- Some medical devices that you want to use with the software require your computer to be a Medical PC.
Details
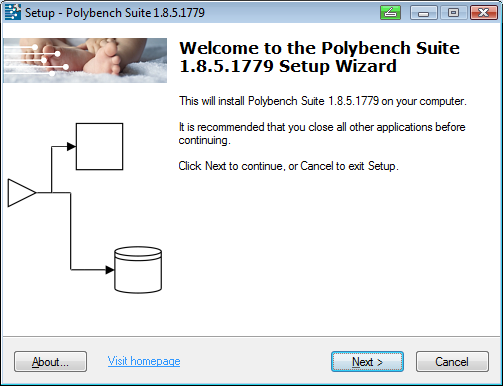
Copy the installation file locally and click it.You will see a screen similar to the image below. Click <Next> to continue.
Please read the license agreement and click <I accept the agreement> if you accept this document. Then click <Next> to continue.
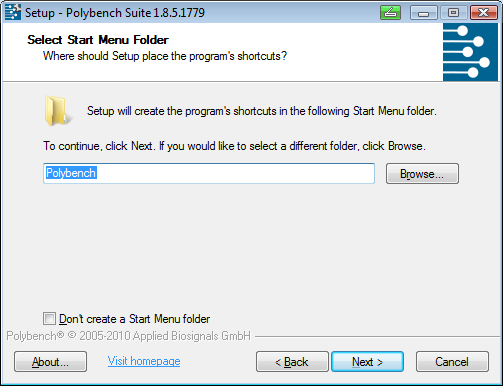
Next, specify a shortcut to the Polybench software in the Windows Start Menu. If you select <Don't create a Start Menu folder> the folder will not be created. Click <Next> to continue.
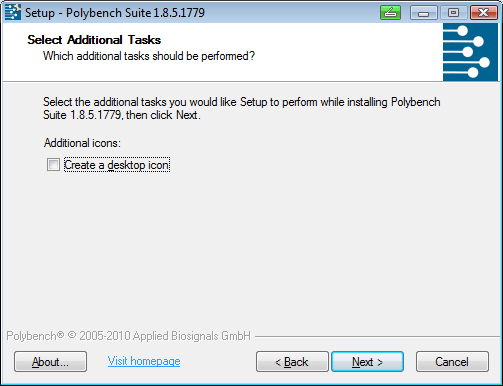
In the next screen you can select if you want to create a desktop icon. Select and then Click <Next>.
Then a summary of the settings is shown. Now click <Install> to start the installation.
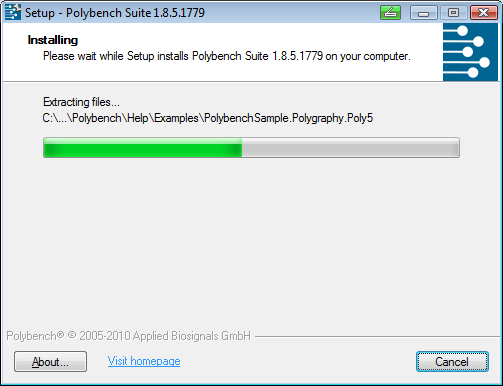
The installation is started. Files are being extracted, which may take some time. Please wait for the next screen.
Now the installer asks for a license. A license ".plic" file should have been provided by your distributor. Please follow the instructions.
Read more about the license and license activator here: "License Activator".
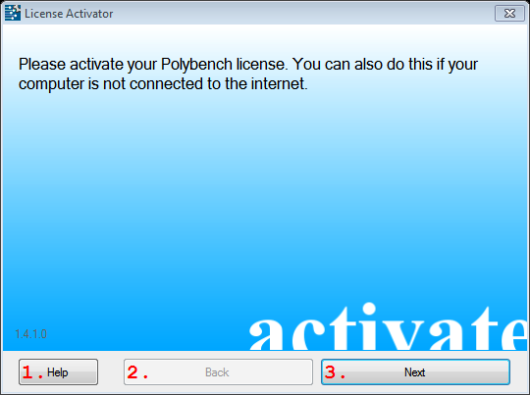
Please note that different distributors may provide different activation links or telephone numbers!
If your computer has a connection to internet, then the license will be activated automatically.
Alternatively you can enter the Internet address that is displayed in a web-browser on another computer, or call the telephone number to get the activation code. Copy or type the activation code in the edit field, as is shown in the following screen.
Now click <ACTIVATE> to activate Polybench. You may also cancel the activation and retry after the installation. Note that if your license is not activated, Polybench will not run.
Installing Polybench is ready! Click <Finish> to continue.
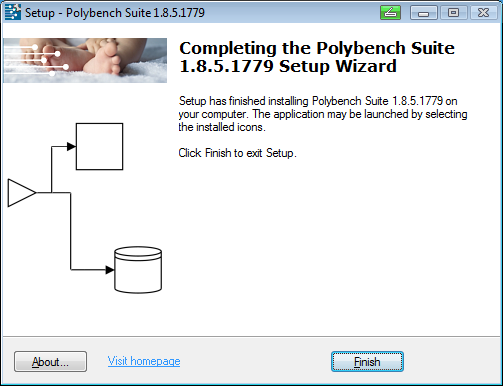
Congratulation, you have successfully installed Polybench Suite and are ready to use the software!
To start the software, go to the Windows Start menu (press the Start button at the left-bottom of the screen) and find the Polybench folder. Then click Polybench Data Manager.
